WebNesting lets you invite other people to help manage your website. You control exactly what each person can see and do by assigning them roles with specific permissions.
Inviting Team Members
You can give other people access to your site's dashboard by inviting them via email.
- Go to Permissions in your dashboard menu.
- Look for the Grant Access section.
- Enter the person's email address.
- Enter the same email address again to confirm it.
- Click Grant Access.
The person will receive an email invitation with a link to join your site. The invitation is valid for one hour. If an invitation expires, you can invite the same person again by sending a new invitation.
Tip: The person you invite will need a WebNesting account. If they do not have one yet, they can create one when they accept your invitation.
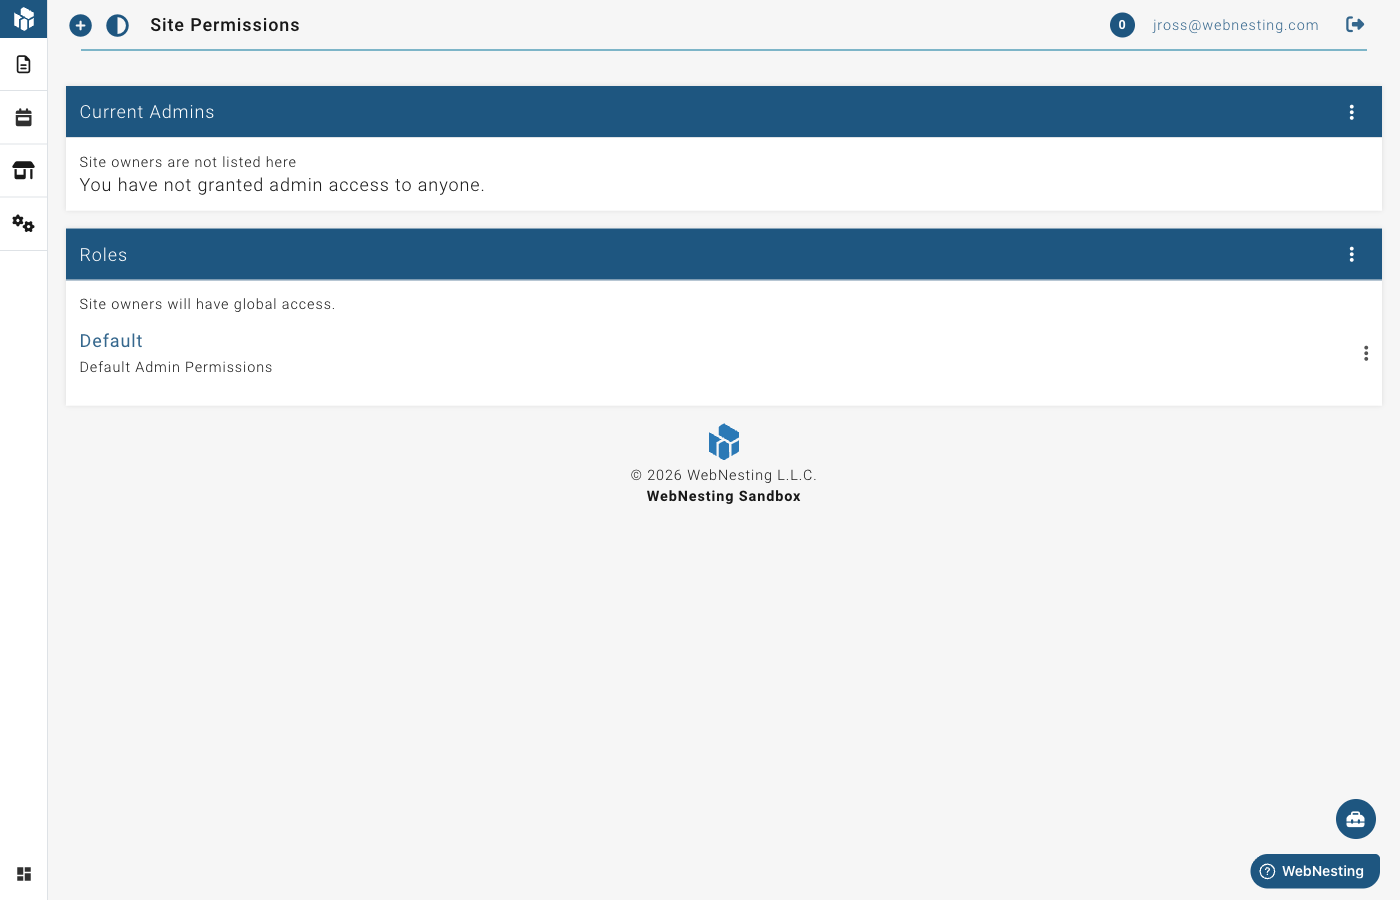
Viewing Your Current Team Members
To see who currently has access to your site:
- Go to Permissions in your dashboard menu.
- You will see a list of all team members who have access to your site.
- Any pending invitations (people who have not yet accepted) will also be shown.
Removing Team Members
If you need to revoke someone's access to your site:
- Go to Permissions in your dashboard menu.
- Find the person you want to remove.
- Click the Revoke Access button next to their name.
- Their access will be removed immediately.
To cancel a pending invitation that has not been accepted yet:
- Go to Permissions in your dashboard menu.
- Find the pending invitation.
- Click Revoke next to the pending email address.
Tip: Removing someone's access does not delete any content they created. All pages, articles, and other content will remain on your site.
Understanding Roles
Roles determine what a team member can do on your site. Each role comes with a set of permissions that control access to different areas.
Site Owner
The site owner has full, unrestricted access to everything. This is the person who created the site. Owner access cannot be limited or revoked, and the owner does not need a role assigned -- full access is always granted automatically.
What the owner can do:
- Access all content, settings, and features
- Manage team members and permissions
- View billing information
- Enable and disable modules
- Everything else on the site
Admin
Admins can manage content and site configuration based on their assigned permissions. This is the default role for team members you invite.
What admins can typically do:
- Create, edit, and manage content (pages, articles, products, etc.)
- Upload and manage media files
- Access the website builder
- View site activity
What admins typically cannot do (unless given extra permissions):
- Manage other team members
- Change billing settings
- Enable or disable modules
Custom Roles
You can create your own roles with exactly the permissions you need. This is helpful when you want to give different team members different levels of access.
For example, you might create:
- An "Editor" role that can only create and edit content
- A "Viewer" role that can only view content without making changes
- A "Content Manager" role that can manage articles but not site settings
Creating Custom Roles
To create a new role:
- Go to Permissions in your dashboard menu.
- Click the Create Role button.
- Give your role a name (for example, "Editor" or "Content Reviewer").
- Add a description so you remember what this role is for.
- Click Save.
After creating the role, you will be taken to the permissions editor where you can set exactly what this role is allowed to do.
Setting Permissions for a Role
Permissions control what actions a role can perform on each type of content on your site. Each content type (like Pages, Articles, Media, etc.) has five permission levels:
Browse
Allows the person to view lists of items. For example, Browse permission on Pages lets them see the list of all pages on your site.
Read
Allows the person to view the details of individual items. For example, Read permission on Pages lets them open and read any page.
Create
Allows the person to add new items. For example, Create permission on Articles lets them write new blog posts.
Update
Allows the person to edit existing items. For example, Update permission on Pages lets them make changes to pages that already exist.
Delete
Allows the person to remove items. For example, Delete permission on Media lets them delete uploaded files.
How to Set Permissions
- Go to Permissions in your dashboard menu.
- Click on the role you want to edit.
- You will see a grid showing every content type on your site along the left side, and the five permission levels across the top.
- Check the boxes to grant permission, or uncheck them to remove permission.
- Click Save when you are finished.
Tip: Start with fewer permissions and add more as needed. It is safer to give someone limited access and expand it later than to give them too much access from the start.
Assigning Roles to Team Members
After you invite someone to your site, you can assign them one or more roles:
- Go to Permissions in your dashboard menu.
- Find the team member in the list.
- Click the Edit Roles button next to their name.
- You will see a list of all available roles. Check the roles you want to assign to this person.
- Click Save.
A team member can have multiple roles. Their permissions are combined -- they get all the permissions from every role assigned to them.
Tip: If you have not created any custom roles yet, new team members will be assigned the default Admin role. You can change this at any time.
Tips for Managing Team Access Securely
Here are some best practices for keeping your site safe when working with a team:
-
Give the minimum access needed. Only grant permissions that a person actually needs to do their job. An editor who writes blog posts does not need access to billing or site settings.
-
Use custom roles. Instead of giving everyone the Admin role, create specific roles for different responsibilities. This makes it clear who can do what.
-
Review your team regularly. Check your team member list from time to time. Remove access for anyone who no longer needs it, such as former employees or contractors whose projects are complete.
-
Be careful with Delete permissions. Deleting content is permanent. Only give Delete permissions to team members you trust to make those decisions.
-
Remove access promptly. When someone leaves your team, revoke their access right away. Do not wait until later.
Tip: The activity log in your dashboard shows what changes each team member makes. This can help you keep track of who did what and when. See the Activity Logs guide for more details.
Last updated: February 12, 2026
Was this article helpful?
That’s Great!
Thank you for your feedback
Sorry! We couldn't be helpful
Thank you for your feedback
Feedback sent
We appreciate your effort and will try to fix the article