The Media Library is where all your uploaded files live -- images, videos, documents, and more. Think of it as your website's file cabinet. Anything you upload here can be used across your entire site, from page backgrounds to blog post images.
What the Media Library Is
The Media Library stores every file you upload to your WebNesting site. Instead of uploading the same image or file over and over, you upload it once to the library and then use it wherever you need it.
This keeps your site organized and makes it easy to reuse files across different pages and sections.
Uploading Files
You can add new files to your Media Library at any time.
- Open your WebNesting dashboard.
- Click Media in the left sidebar to open the Media Library.
- Click the Upload button.
- Choose one or more files from your computer.
- Wait for the upload to finish. You will see a progress indicator for each file.
- Once complete, your files will appear in the library.
You can also drag and drop files directly into the Media Library window for a quicker upload.
Tip: You can upload multiple files at once. Select several files from your computer, or drag a group of files into the upload area.
Browsing and Searching Your Media
As your library grows, you will need ways to find files quickly.
Browsing
- Open the Media Library from the left sidebar.
- Scroll through your files. They are displayed as thumbnail previews so you can see what each file looks like at a glance.
- Click on any file to view its details.
Searching
- Use the Search bar at the top of the Media Library.
- Type a file name, keyword, or description.
- The library will filter to show only matching files.
Tip: Give your files clear, descriptive names before uploading them. A file named
team-photo-2024.jpgis much easier to find later thanIMG_4382.jpg.
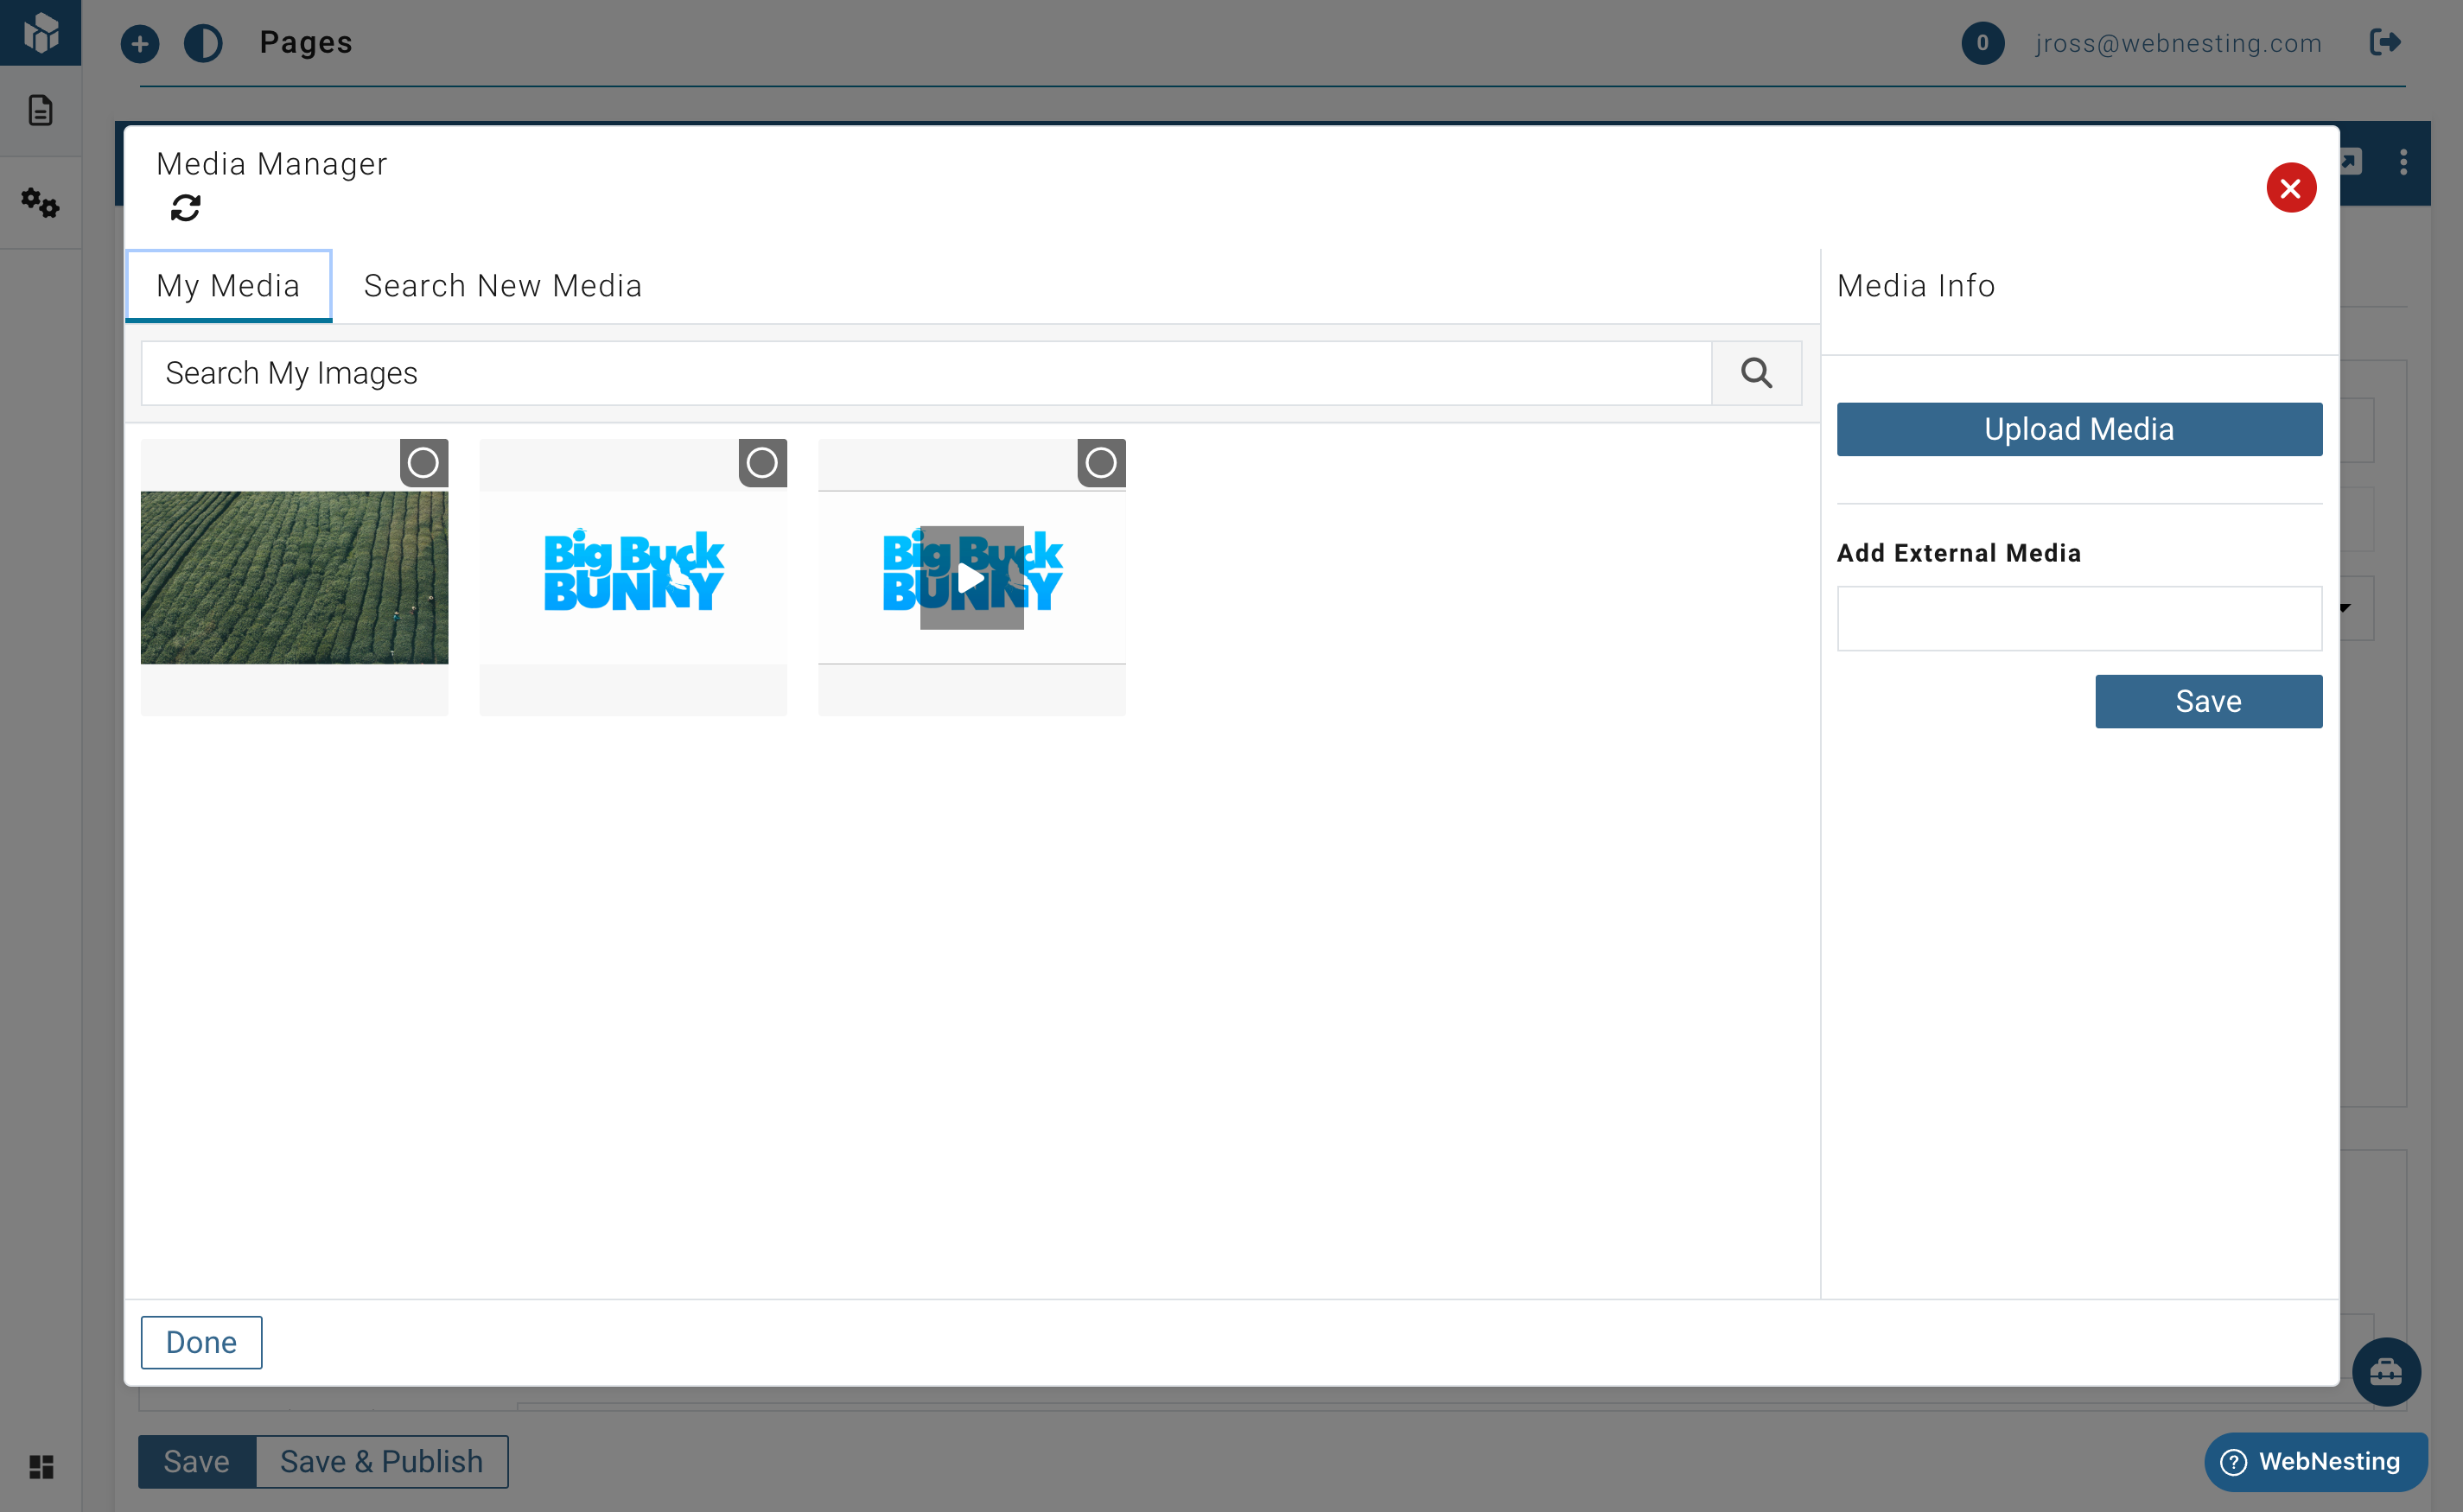
Viewing File Details and Previews
Every file in your library has a detail view where you can see more information about it.
- Open the Media Library.
- Click on any file.
- A detail panel will open showing:
- A preview of the file (for images and videos).
- The file name.
- The file type and size.
- The date it was uploaded.
- The web address (URL) of the file.
- Where the file is currently used on your site.
Editing File Information
You can update the information attached to each file, which helps with organization and accessibility.
- Open the Media Library.
- Click on the file you want to edit.
- In the detail panel, update any of the following:
- Alt Text -- A short description of the image. This is read aloud by screen readers for visitors who cannot see the image, and it helps search engines understand your content.
- Title -- A name for the file used for internal reference.
- Description -- A longer note about the file, useful for keeping track of what it is or where it should be used.
- Save your changes.
Tip: Always add alt text to your images. It makes your site more accessible to people using screen readers, and it can improve your search engine ranking. Describe what the image shows in a few simple words, like "Woman working at a laptop in a coffee shop."
Deleting Media Files
If you no longer need a file, you can remove it from your library.
- Open the Media Library.
- Click on the file you want to delete.
- Click the Delete button in the detail panel.
- Confirm that you want to delete the file.
Important: If the file is currently used on any page of your site, deleting it will remove it from those pages as well. A broken image or missing file will appear in its place. Check where a file is used before deleting it.
Tip: Before deleting a file, look at the "Used On" information in the file's detail panel. This tells you which pages or components are currently using the file.
How Uploaded Media Is Used on Your Site
Files from the Media Library can be used in many places across your website:
- Page content -- Add images, videos, and files to any page through the Website Builder.
- Backgrounds -- Use images as backgrounds for sections, rows, or the entire page.
- Components -- Many components (like image galleries, sliders, and cards) pull their content from the Media Library.
- Site settings -- Your logo, favicon, and social sharing image are all stored in the Media Library.
- Blog posts and articles -- Feature images, inline images, and downloadable attachments all come from your library.
When you add media to a page in the builder, you will be able to browse your Media Library and pick the file you want.
Supported File Types
WebNesting supports a wide range of file types:
Images
- JPEG / JPG
- PNG
- GIF
- SVG
- WebP
Videos
- MP4
- WebM
Documents
Tip: When in doubt, JPEG and PNG are the safest choices for images. Use JPEG for photographs and PNG for graphics with transparent backgrounds.
Tips for Optimizing Images for the Web
Large, unoptimized images are one of the most common reasons websites load slowly. Here are some simple ways to keep your site fast:
Resize Before Uploading
If your image is 4000 pixels wide but it only appears in a 600-pixel-wide space on your page, resize it before uploading. For most page images, 1200 pixels wide is a good target. Hero images and full-width banners may need to be 1600-1920 pixels wide. This keeps images sharp on high-resolution screens without being unnecessarily large.
Choose the Right Format
- JPEG -- Best for photographs and complex images with many colors. Keeps file sizes small.
- PNG -- Best for graphics, logos, and images that need transparent backgrounds. File sizes are usually larger than JPEG.
- WebP -- A modern format that offers excellent quality at smaller file sizes. Most browsers support it.
- SVG -- Perfect for logos, icons, and simple graphics. SVG files are very small and stay sharp at any size.
Compress Your Images
Use a free online tool to compress your images before uploading. Compression reduces file size without a noticeable loss in quality. Some popular free tools include:
- TinyPNG (works for JPEG and PNG)
- Squoosh (works for many formats)
Use Descriptive File Names
Instead of image1.jpg, name your file something meaningful like homepage-hero-banner.jpg. This helps with organization and can improve your search engine ranking.
Tip: Aim to keep most images under 300 KB. Hero images and full-width banners can be up to 500 KB. Thumbnails and icons should be under 100 KB.
Last updated: February 12, 2026
Was this article helpful?
That’s Great!
Thank you for your feedback
Sorry! We couldn't be helpful
Thank you for your feedback
Feedback sent
We appreciate your effort and will try to fix the article