Pages are the foundation of your website. Each page on your site has its own web address (URL) and contains the content your visitors see. This guide walks you through everything you need to know about creating, organizing, and managing your pages in WebNesting.
Viewing All Your Pages
When you log in to your WebNesting dashboard, you can see all of your pages in one place.
- Open your WebNesting dashboard.
- Click Pages in the left sidebar.
- You will see a list of all your pages, including their titles, URLs, and current status.
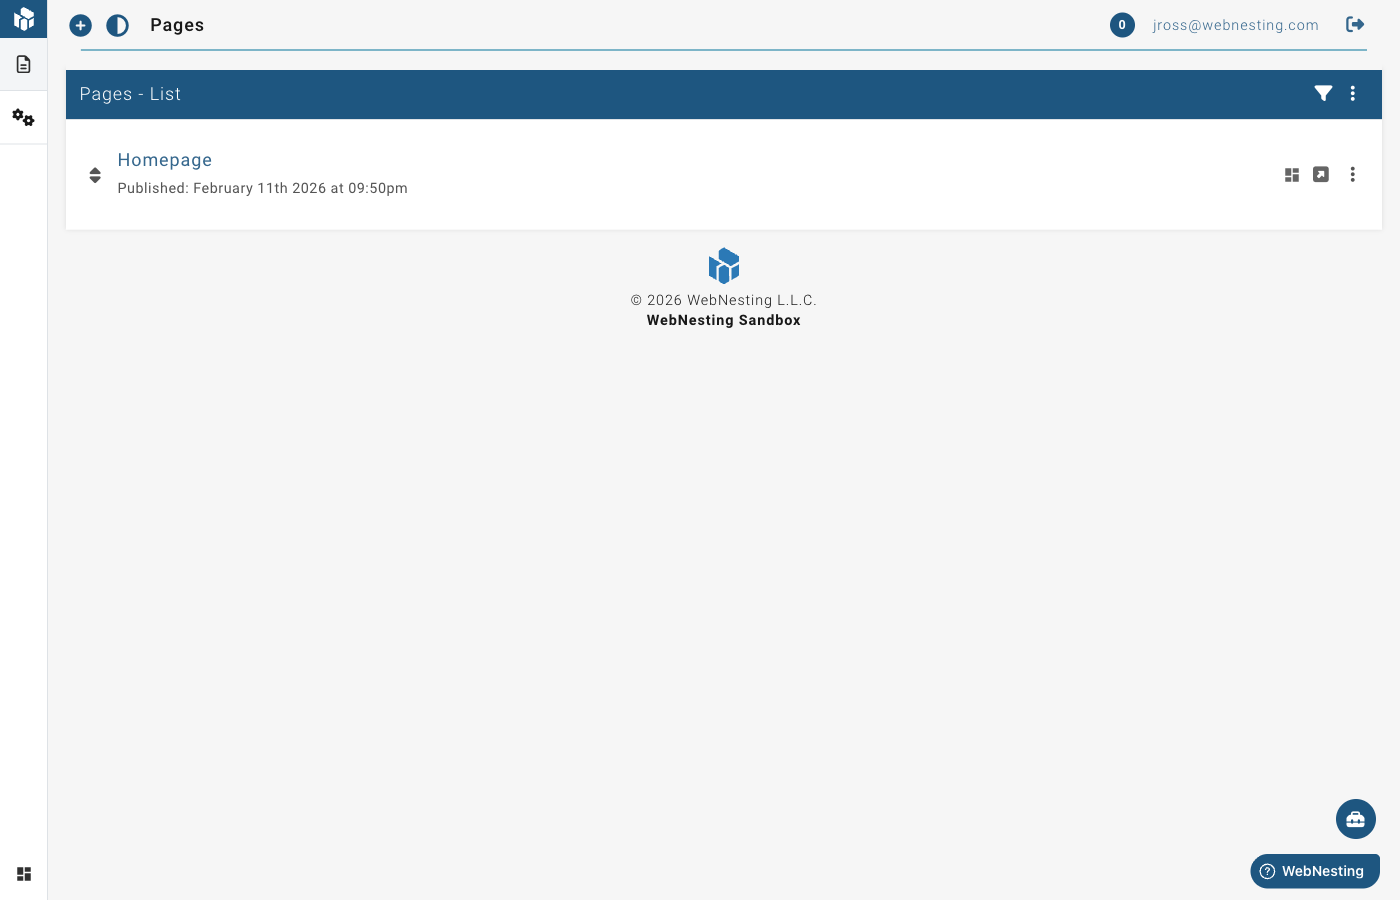
Each page in the list shows:
- Title -- The name of the page.
- URL -- The web address where the page lives.
- Status -- Whether the page is a draft or published.
- Last Updated -- When the page was last changed.
Tip: If you have many pages, use the search bar at the top of the page list to quickly find the one you need.
Creating a New Page
Adding a new page to your site takes just a few steps.
- Go to the Pages section from the left sidebar.
- Click the New Page button.
- Enter a Page Title. This is the name visitors will see at the top of the page and in their browser tab.
- Set the URL Slug. This is the part of the web address that comes after your domain name. For example, if your domain is
yoursite.comand the slug isabout, the page address will beyoursite.com/about. - Choose a Layout. Layouts control the overall structure of your page, such as whether it has a sidebar, a full-width design, or a specific header and footer style.
- Click Create Page.
Your new page is now ready. It will start as a draft, so it will not be visible to the public until you publish it.
Tip: Keep your URL slugs short and descriptive. Use lowercase letters and hyphens instead of spaces. For example,
our-teamis better thanOur Team Page 2024. URL slugs should use lowercase letters and hyphens. Avoid special characters, spaces, or very long slugs.
Editing a Page
You can update any page's basic information at any time.
- Go to the Pages section.
- Find the page you want to edit in the list.
- Click on the page name, or click the Edit option next to it.
- Update the page title, URL slug, layout, or any other settings.
- Save your changes.
To edit the actual content of the page (text, images, sections), you will use the Website Builder. See the "Opening a Page in the Website Builder" section below.
Draft vs. Published Pages
Every page has a status that controls whether your visitors can see it.
- Draft -- The page is only visible to you in the dashboard. Visitors to your website cannot see it. Use drafts when you are still working on a page and it is not ready yet.
- Published -- The page is live on your website and anyone can visit it.
How to Change a Page's Status
- Go to the Pages section.
- Find the page you want to update.
- Click the page to open its settings.
- Change the status from Draft to Published, or from Published back to Draft.
- Save your changes.
Tip: If you need to make big changes to a live page, consider switching it to draft first. Make your updates, then publish it again when everything looks right.
Organizing Pages with Parent and Child Hierarchy
As your website grows, you may want to group related pages together. WebNesting lets you create a parent-child structure, which means you can nest pages under other pages.
For example, you might have a top-level page called "Services" with child pages for each service you offer:
- Services
- Web Design
- SEO
- Consulting
Child pages appear beneath their parent page in your site's navigation and in the page list.
How to Set a Parent Page
- Go to the Pages section.
- Click on the page you want to nest under another page.
- Look for the Parent Page setting.
- Select the page you want to use as the parent.
- Save your changes.
The child page's URL will update to reflect the hierarchy. For example, the "Web Design" page might have the address yoursite.com/services/web-design.
How to Remove a Parent Page
- Open the child page's settings.
- Clear the Parent Page field or set it to "None."
- Save your changes.
The page will move back to the top level.
Reordering Pages
You can control the order in which your pages appear in navigation menus and the page list.
- Go to the Pages section.
- Drag and drop pages to rearrange them in your preferred order.
- Your new order is saved automatically.
If a page has child pages, you can also reorder the children within their parent group using the same drag-and-drop method.
Tip: The order you set here is often used in your site's navigation menu. Check your live site after reordering to make sure everything looks right.
Searching and Filtering Pages
When you have many pages, searching and filtering makes it easy to find exactly what you need.
Searching
- Go to the Pages section.
- Type a word or phrase into the Search bar at the top of the page list.
- The list will update to show only pages that match your search.
Filtering
- Look for filter options near the search bar or at the top of the page list.
- Filter by Status to see only draft pages or only published pages.
- Filter by Layout to see pages that use a specific layout.
- Combine filters to narrow your results further.
Deleting a Page
If you no longer need a page, you can delete it.
- Go to the Pages section.
- Find the page you want to delete.
- Click the Delete option next to the page (or open the page and look for a delete button).
- Confirm that you want to delete the page.
The page will be removed from your page list and will no longer be visible on your site.
Restoring a Deleted Page
Accidentally deleted a page? You may be able to bring it back.
- In the Pages section, look for a Trash or Deleted Pages area.
- Find the page you want to restore.
- Click Restore.
- The page will return to your page list as a draft.
Tip: Deleted pages are kept for 30 days before being permanently removed. If you are unsure about deleting a page, consider switching it to draft status instead.
Opening a Page in the Website Builder
The Website Builder is where you design and edit the actual content of your pages -- adding text, images, buttons, sections, and more.
- Go to the Pages section.
- Find the page you want to design.
- Click the Open in Builder button (or double-click the page).
- The Website Builder will open with your page loaded and ready to edit.
From the builder, you can visually add and arrange content on the page. When you are finished, save your work and return to the dashboard.
Tip: You can also open the Website Builder directly from the dashboard's top navigation bar. Once inside, you can switch between pages without going back to the dashboard.
Last updated: February 12, 2026
Was this article helpful?
That’s Great!
Thank you for your feedback
Sorry! We couldn't be helpful
Thank you for your feedback
Feedback sent
We appreciate your effort and will try to fix the article